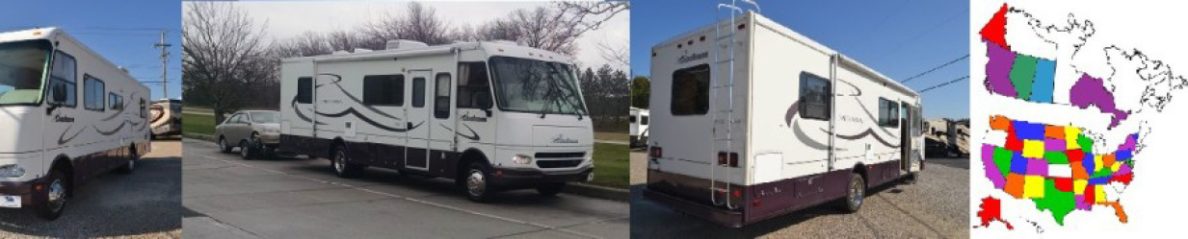
 Being able to monitor the tires of a dolly and Toad are crutial. If something goes wrong, i.e. hung brakes, blowout, bad bearings, etc, the RV will hum right along and won’t even fell the extra drag caused by something wrong with the Toad.
I’ve had a personal experience with this when our old tow dolly suffered from a broken axle. When the wheel departed the dolly, there was no indication that anything was wrong. No thumps, no sound, no feel, nothing.
This same problem is with a 4 down, there is no indication of a blown tire, or hung brake (heat).
Adding a TPMS specifically for the TOAD/Dolly solved this problem. The TPMS unit I use monitors both the pressure and temperature of the rear tires on the TOAD and the two dolly tires.
Two issues that needed to be dealt with:
1) Significantly different tire pressures between the Acme dolly tires (85 psi) and the TOAD (Toyota Camry, 33 psi)
The TPMS unit I selected , Schrader, solved this problem, as it allows you to set the alarm points for the front and rear axles at different pressures and temperatures. (CLICK HERE)
I set the front axle, the two Acme tires, to alarm if pressure drops below 75 psi or the temperature goes above 170 deg. The rear axle, Camry rear tires, is set to alarm if pressure goes below 25 psi or the temperature goes above 150 deg.
2) Transmitter distance – The TPMS transmitters may not be strong enough to reach the receiver in the front of my Mirada, so I added an external receiver antenna.
NOTE – you may wish to see if if the receiver will receive the tire transmitters without modifying the receiver for an external antenna. It might work.
When I originally installed my unit, it would not receive the rear tires of the TOAD. HOWEVER, I later discovered that my wireless rear view camera was interfering with the TPMS. When I turned off the wireless camera, the TPMS worked OK.
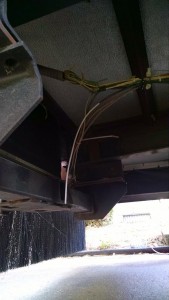
ADDING EXTERNAL ANTENNA
Before I started modifying the receiver, I hooked it up and programmed it to receive the TPMS sensors. Once I was happy everything worked, I opened up the receiver and modified it for an external antenna.
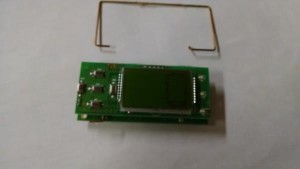
On the other end, expose about 12 inches of the center conductor, This will become the antenna. The shield is NOT hooked to anything. tape it off and make sure it doesn’t short against anything.
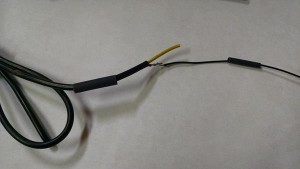
INSTALL TRANSMITTERS
I had the tire place install the transmitters in the rear tires. I was due for a free wheel rotation and TireMan installed the transmitters in the rear wheels at no charge when they rotate the tires.
I installed the transmitters in the tires on my ACME dolly.
Let the air out of the tire then break the bead. I had to break the bead on both sides, and move the tire inside the rim to get room to work. Cut the old valve stem off. Put a little soap solution on new transmitter / valve stem and use a valve tool to pull it through the hole.
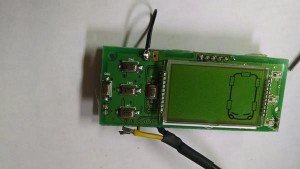
UNIT SETUP
There are two versions of this unit, Wired and battery (referring to the receiver head) I used the wired unit and have it wired to a switch so I can turn it off if I’m towing the dolly.
Schrader TPMS retrofit kit — SCH-BRK-4PC
THOUGHTS – I’m going to order a battery operated unit to use for my 4 down TOAD. It can mount in the car for normal everyday driving, but then move it to the RV when towing the car.
The Schrader unit and directions aren’t very user friendly. Two items that I’ll point out that will save you some frustration.
1) When you are learning the sensors, get the receiver ready, then let a little air out of the tire that is being learned. It may take 30-60 seconds for the tir3es sensor to start transmitting so be a little patient and wait for the beep. from the receiver.
2) Make sure you save after learning each tire, or you will need to start all over again.
UPDATE – July 2016
These are some observations I made on a recent trip to Arizona in June.
Real time tire temperature / pressure readings.
I don’t have TPMS on my MH, but I installed transmitters in the two rear tires of my TOAD (Toyota Camry) and the two Acme dolly tires. These are pressures and temperatures I seen a few weeks ago while traveling through Arizona with outside air temperatures of 110 Deg.
The TPMS (Schrader) I have shows tire pressure and tire temperature for each tire.
The rear car tires didn’t change much, 33 psi cold (85 deg) and they would go to 36 psi warm (130 deg) while traveling
But the dolly tires got a lot hotter,
85 psi cold (85 deg), 105 psi hot (170 deg). On one long downhill where the Acme brakes were probably applied a lot, I seen 200 Deg tire temperatures 
(I pulled over and let them cool to below 170 deg before I proceeded)
The left dolly tire seems to run about 10 – 15 deg hotter than the right tire. The Chassis exhaust is on the left side of the MH so the left dolly tire is probably in that hot air stream.
Whenever I stop, I always walk around and check tire temperatures. When I put my hand on the tire and rim, its warm but not what I would consider hot.
Lesson Learned – tire pressure and temperature change considerably while traveling down the road. always check the pressure when the tire has not been traveling for a few hours and has cooled to air temperature.
ALSO – I was downshifting on the downhills to allow the engine to help with the braking. Acme recommends against this as it keeps the brakes applied on the dolly. They recommend coasting, and use occasional braking to slow down..
IMPORTANT NOTE – After inspecting the dolly carefully. I discovered that the inner seal on the left side had leaked a little and the grease was causing the left caliper to hang up. This was the reason why the left side was running at a higher temperature.
After replacing the seals, repacking the bearings, and installing new brake pads, the left side ran the same pressure and temperatures as the right side. (CLICK HERE)