 While traveling last year, the hood hinge on the drivers side broke. This is the piece the hood swings on and is mounted just below the windshield on the inside of the front end of the Mirada. I took the hinge off, found a shop that welded for me, put it back together and we were on our way.
This weekend, I noticed a lot of play in the hood. I was thinking that it had something to do the the broken hinge from last year, but that repair was still solid.
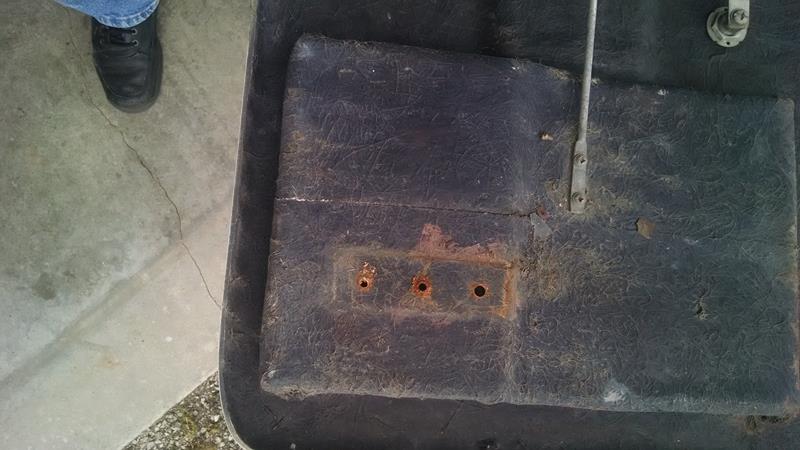
Looking at the hood, the drivers side metal hinge mount point was soft and flexing. The passenger side was solid
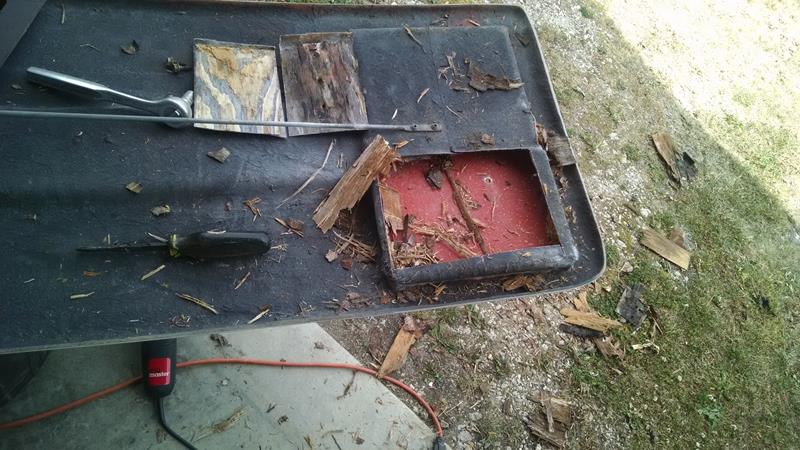
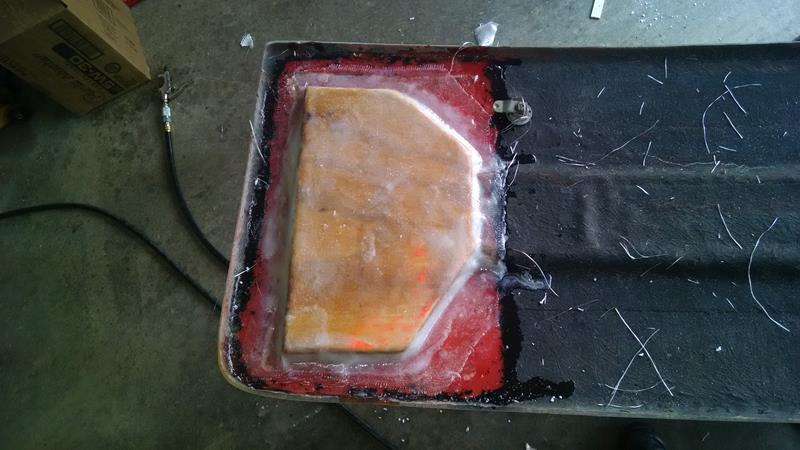
I removed the hood and cut open the fiberglass to see what needed to be done underneath. The only thing the driver side screws were attached to was the glass mat itself, the wood structure under the fiberglass had rotted away.
I continued cutting the glass mat, and soon realized it would be simpler to cut it all out and glass in new wood structure.
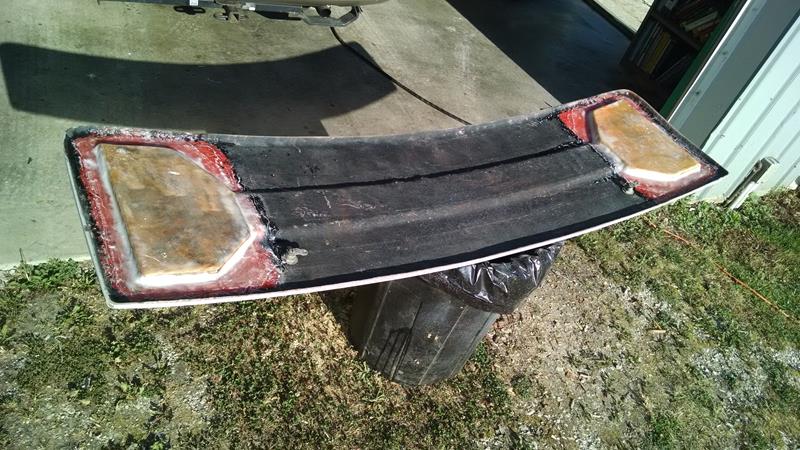
The passenger side seemed OK, but I decided if I’m going to repair the drivers side, I may as well cut the passenger side off and do it also. I’m glad I did.
I cut the passenger side off as one big piece. The passenger side wooden pad was intact but wet and full of water.
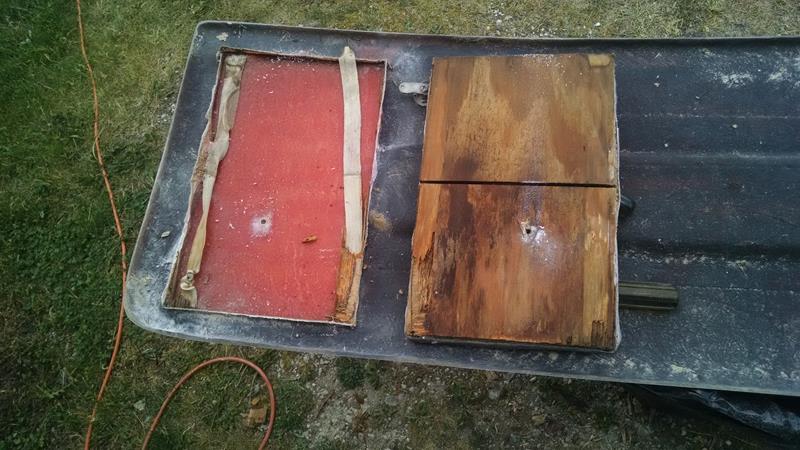
The way the hood was made was the problem! To add the wooden stiffener/attach point to the inside of the hood, they used two sided tape to hold the wood to the inside of the hood, then used glass matting over the wood. This left a big gap between the wood and the inside surface of the hood. If there were any leaks in the matting, water could get in between the hood and the wood, and the wood then rotted away. This is exactly what happened on the drivers side and was beginning to happen on the passenger side.
REPAIR
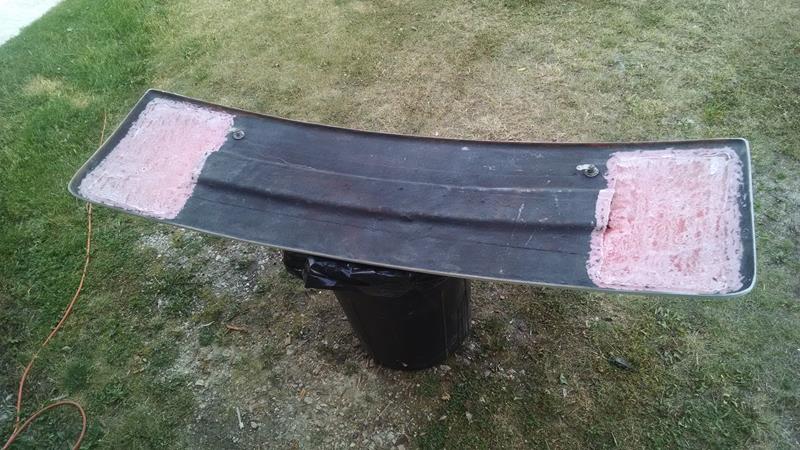
I’ve have a lot of experience with fiberglass and epoxy (see I Fly EZ) so this was an easy fix. I used West Systems epoxy (105) with the slow hardener (106), and a yard of bi-directional cloth.
I used 3/4 inch exterior plywood for the new wooden stiffeners / attach points
Two items to note:
1) Before removing the hinge attach points from the hood, mark or measure where the hood attach is mounted.
I removed one of the screws, then drilled a hole all the way through the hood. Before glassing in the new wood, On the outside, put a piece of tape to cover the hole to prevent epoxy from coming through the hole
After the new wood was glassed into place. I then re-drilled the hole and put a stainless bolt to secure the hinge. I then drilled a second hole through and installed another bolt.
2) The inside surface of the hood has a slight curve to it, so there will be a gap between the center of the plywood and the inside surface of the hood. To fill this gap, I used an epoxy mixture called “flox” (cotton fibers added to epoxy). You could use glass bubbles, a light filler, or cloth mat or anything. But make sure to use something to fill that gap so it will not compress or collect water.