I don’t know any of the operation / maintenance history of my generator other than the dealer installed a new control board just before I picked up our New-to-Us Mirada a couple years ago. I believe the previous owner used the generator a lot based on the hour meter. This isn’t the original generator as the generator serial number doesn’t match the serial number on the coach manufactures build sheet.
I changed the oil last fall just before our winter trip. Since then we put 6 hours on the generator, and it seems like its hard to start. So, not knowing the maintenance history, I decided to do a tuneup to bring the maintenance up to date and a known condition.
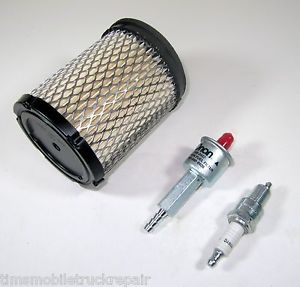
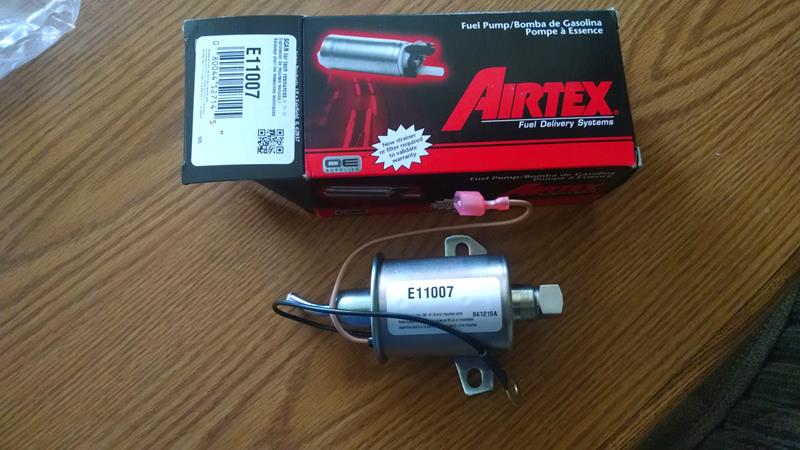
I ordered a tuneup kit (air filter, fuel filter, spark plug) on e-bay, cost was around $30. Since the fuel filter screws into the end of the fuel pump, the pump / filter assembly needs to be removed in order to replace the filter, I decided to spring for a new fuel pump also. An aftermarket fuel pump cost about 1/2 ($30) of the Onan pump ($70), and appear to be exactly the same thing.
REPLACING SPARK PLUG
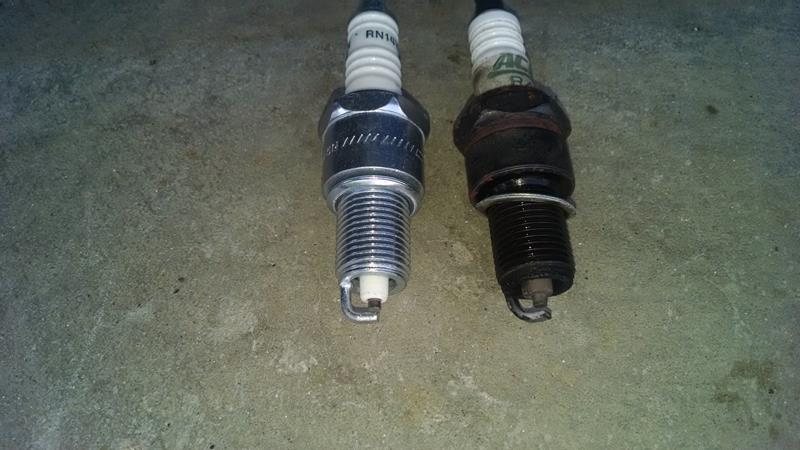
There isn’t enough room to get a spark plug socket and ratchet wrench onto the plug, so I used the socket by itself and used a box wrench on the socket to remove the plug. The plug was worn and the gap had increased to almost 0.050 inches. It appeared to be the original plug.
The new plug was a Champion RN14YC. I gaped it to 0.025. A little anti seize on the threads and torqued it to 160 inch lbs.
REPLACING FUEL PUMP AND FILTER
1) Make sure there is no power to the generator. I disconnected the coach and chassis batteries, and disconnected shore power.
2) Turn off the propane at the main tank. I don’t want any open flames while working on the generator fuel line.
3) Remove the 12 volt battery cable from the Onan starter solenoid.
4) Disconnect the remote start electrical plug, pull the 12 volt and remote start plug and wire harness out of the generator cabinet.
5) Remove the 2 bolts that hold the control board to the front of the generator. The starter solenoid is attached to the control board, there is no need to remove it from the control board.
6) Disconnect the electrical plug from the bottom of the control board. Then twist and turn the control board to remove it from the cabinet. There isn’t any need to remove any of the other wires from the starter solenoid.
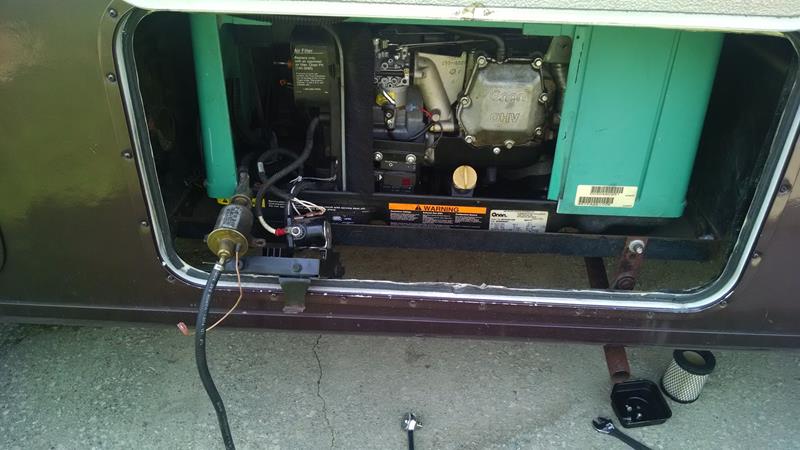
7) There is one bolt that holds the fuel pump assembly to the bottom of the generator. Remove that bolt.
8) Remove the fuel hose from the bottom of the carburetor. Pull the hose back through into the compartment where the fuel pump is.
9) The positive wire of the fuel pump has a spade lug that can be pulled apart. The negative wire is a lug attached to a ground bolt. I simply cut the negative wire.
10) The fuel pump should now come out. There should be enough extra fuel hose on the filter end to pull the pump out so you can get to the fuel hose clamp and pull the hose off the end of the filter.
11) Remove the fuel hose from the filter. Have something ready to plug the hose as it will siphon fuel from the gas tank. (I used a drill bit)
12) I installed new 1/4 inch fuel hose between the pump and the carb. I also used high quality fuel injection clamps rather than the worm clamps.
13) When installing the new fuel pump, note that one side of the fuel pump mount tabs slides into a grove on the bottom of the generator. The other tab is held down by a bolt.
I attached the new fuel pumps minus wire under the fuel pump hold down bolt.. The positive wire was plugged into the spade lug, the same as the OEM pump.
The fuel hose is routed and attached to the bottom of the carb. Again, use fuel injection clamps rather than worm clamps.
14) Connect the electrical plug to the bottom of the control board then mount it.
Note that the back / bottom of the control board has a tab that slides into a slot on the bottom of the generator, similar to the tab on the fuel pump.
Install and tighten the two bolts that hold the front of the control board assembly.
15) Re-connect the battery wire to the starter solenoid.
16) Reconnect the remote start plugs.
17) After generator testing – reconfigure the propane tank and check the appliances.
AIR FILTER REPLACEMENT
My air filter looked brand new, so I opted to leave it. I now have a spare air filter.
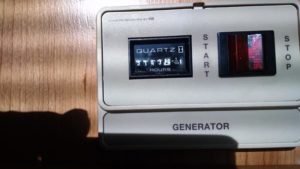
TEST RUN
Reconnect the coach and chassis batteries, test run the generator.
On the generator, I hold the STOP button in. This runs the pump to prime the engine. Also look for fuel leaks.
My generator fired right up, much better than it ever has. I suspect the spark plug was the problem. I ran the generator for about 20 minutes under load (Turn the air conditioner on full cool).
We’re good for another 25-50 hours.