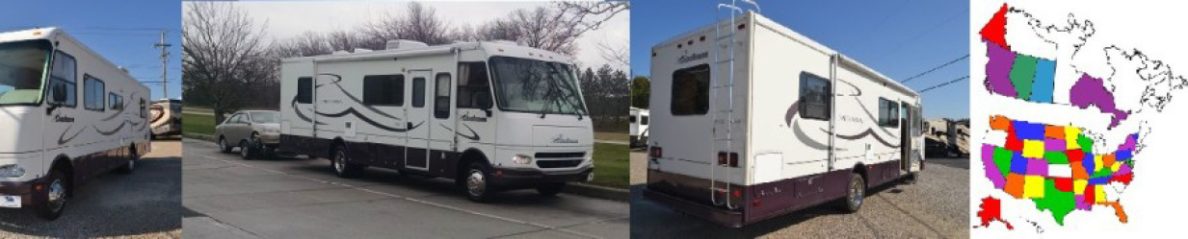
 The roof of the Mirada was 15 years old and showing signs of wear and tear. It wasn’t leaking, but had a few minor repairs. It was also leaving tell tale white streaks on the sides of the Mirada. These are caused by EPDM roof decaying because of UV exposure.
I plan on keeping the Mirada a few more years, so its time to do something about the roof. Basically, I had two options, New roof or recoat.
Option 1 – New roof
I looked into doing a new roof, removing the old membrane and installing a new one. This would be a labor intensive project, but in the end, I should have a roof thats good for another 10-15 years. Materials would run $2,000 and if I didn’t run into any problems, the project would take a week.
Option 2 – Re-coating
Another option was re-coating the existing roof. I’ve read were some people have used Home Depot type roof coatings, I didn’t want to go that route, and whatever I did had to be 100% compatible with the existing EPDM membrane.
There are several re-coating systems available, All require cleaning the existing roof and making repairs and plugging any holes to the existing membrane prior to re-coating.
One system required applying a primer to the roof, then applying the coating. This is a two step process and effectively meant the roof would be painted twice (once with the primer, then with the coating)
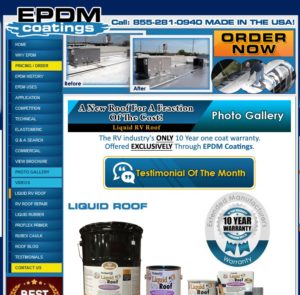
The system I chose was from EPDM Coatings, This was a single step process, meaning I coated the roof one time, with the EPDM coating material, no need to primer the roof. The coating comes with a hardener. The hardener is mixed with the coating just before you start applying it. Once mixed, you have about 4 hours to work with it before it starts getting to thick. (NOTE – If its hot outside, this time may be reduced)
I reviewed their web site, and watched the numerous “testimonial videos” from people who used the product. Application seemed simple and straight forward and should only take a couple hours.
I used their calculator that estimated I’d need 6 gallons, so I ordered one 5 gallon pail and a one gallon can. (ultimately I only needed the 5 gallon pail)
Make sure you use the “Liquid Roof” and not the the “Liquid Rubber”. If your not sure or have any questions, Call them – 855-281-0940
PREPARATION – Cleaning the existing roof.
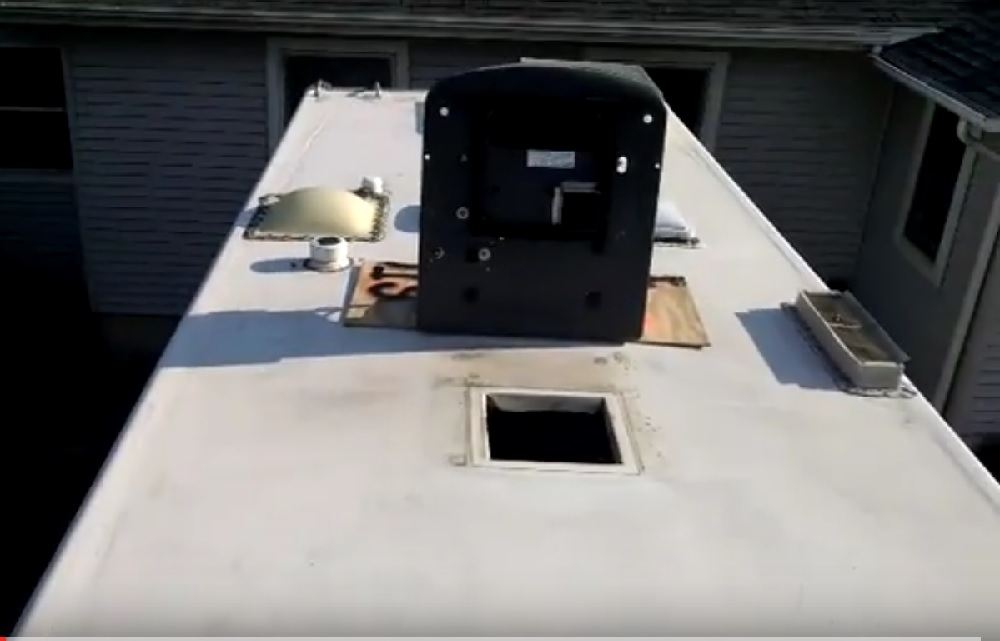 Roof is cleaned, cover are all removed, holes are repaired, and we’re ready to start painting on new roof
I removed all the Max Covers, the AC cover, and the Frig cover.
I had an old satellite antenna on the roof that didn’t work, so I removed it and plugged the holes by installing stainless screws in the holes and then coated the screws and the patch with self leveling EPDM sealer.
I didn’t remove the A/C unit from the roof, but loosened it and laid it on its end so I could make sure I got the coating under and around it. ( Lay the A/C unit on a small piece of plywood so it won’t damage the roof). While I had the A/C unit loose, I treated myself to a new A/C roof seal. The old seal wasn’t leaking, but this would be a good time to replace the seal.
The vent covers were in good shape, but the internal seals were all dry and brittle, so I decided to replace those.
The skylight over the shower was discolored, so I used a can of Rustolium glossy white and painted the outside of it. It still lets in plenty of light, but now looks as good as new plus it reflects a lot of heat.
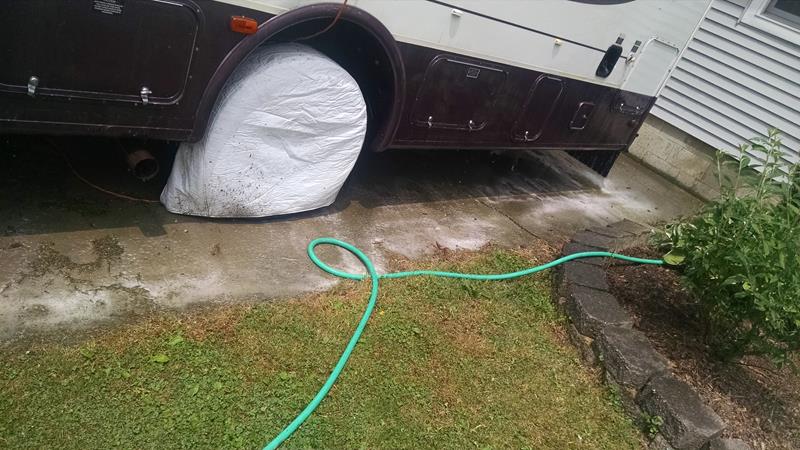
I then used a pressure washer and washed the entire roof to blow off the dirt, mold, and chalky residue. Any loose sealant was removed, and I used a wire brush to go around all the vents, seals, and edges to to make sure the coating would have a good surface to adhere to.
NOTE – We were also installing new awning fabric, so decided to wait until after the roof coating before installing the new awning.
COATING THE ROOF
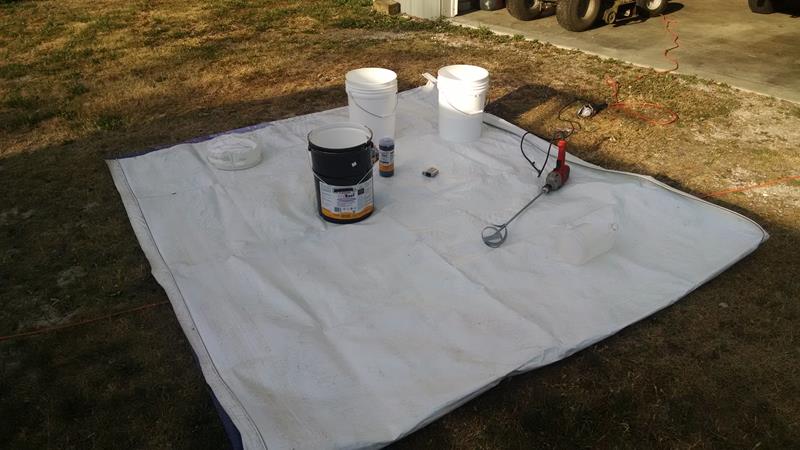
Tools needed:
- small tarp to mix on.
- 16 inch squeegee to spread with (needs long handle)
- A couple 2 or 3 inch cheap paint brushes
- Short bristle paint roller
- extension for paint roller
- Painter tape to mask off areas
- Paint mixer (to use in electric drill)
- a couple 5 gallon buckets (to mix two batches of EPDM)
- 6 or 8 ft step ladder
- paper towels
- lacquer thinner (to clean any minor spills)
On the day of re-coating the temperature was forecast to get into the upper 90’s, so I decided to not mix all of the coating at once. Instead, we’d mix about 2 1/2 gallons, then when that’s used up, mix the remainder 2 1/2 gallons. If we needed the other 1 gallon, we’d use it, otherwise we would return it.
Before we started mixing, one last inspection of the roof, we pulled the AC unit up and rested it on a piece of plywood and installed the new seal on the bottom of the AC unit. Everything is ready to go…
Using the electric drill and mixer, we dumped about 1/2 of the hardener into 2 1/2 gallon of coatings.
The first step was to paint around the AC unit hole opening, then re-position the AC unit back over the hole, and do a quick alignment. From inside the Mirada, we centered the A/C unit over the hole and verified the new gasket was lined up over the hole correctly. We then loosly installed the four long hold down bolts in to the unit. We didn’t bother installing the ceiling control unit, we’ll get to that later.
We went back up on the roof and started at the front. We painted around all the edges, all the fixtures, anyplace we did a repair, around the vents, etc, etc, etc. The idea was to paint anywhere that we couldn’t squeegee.
The edge painting took about an hour or so. One final inspection to make sure we didn’t miss anything.
Squeegee – We went back to the front of the roof and dumped a puddle of coating, then used the squeegee to move it around to get a good even coating. We were able to cover about 6 ft of the roof with the remainder of the first batch that we mixed.
It was a good decision to split the 5 gallons and only mix 1/2 at a time. It was now about 95 degrees outside, the first batch was about 2 hours old, and we noticed it was getting thicker as the hardener started kicking in.
We mixed the remainder of the 5 gallon bucket and started spreading it on the roof. The stuff we just mixed was a lot thinner and much easier to work with than the two hour old stuff that we just spread on the roof.
It took about 30 minutes to spread the remainder of the roof with the new batch. We painted ourselves into the corner where the ladder was, then made one final inspection before starting to clean up.
FINISHED – Conclusions
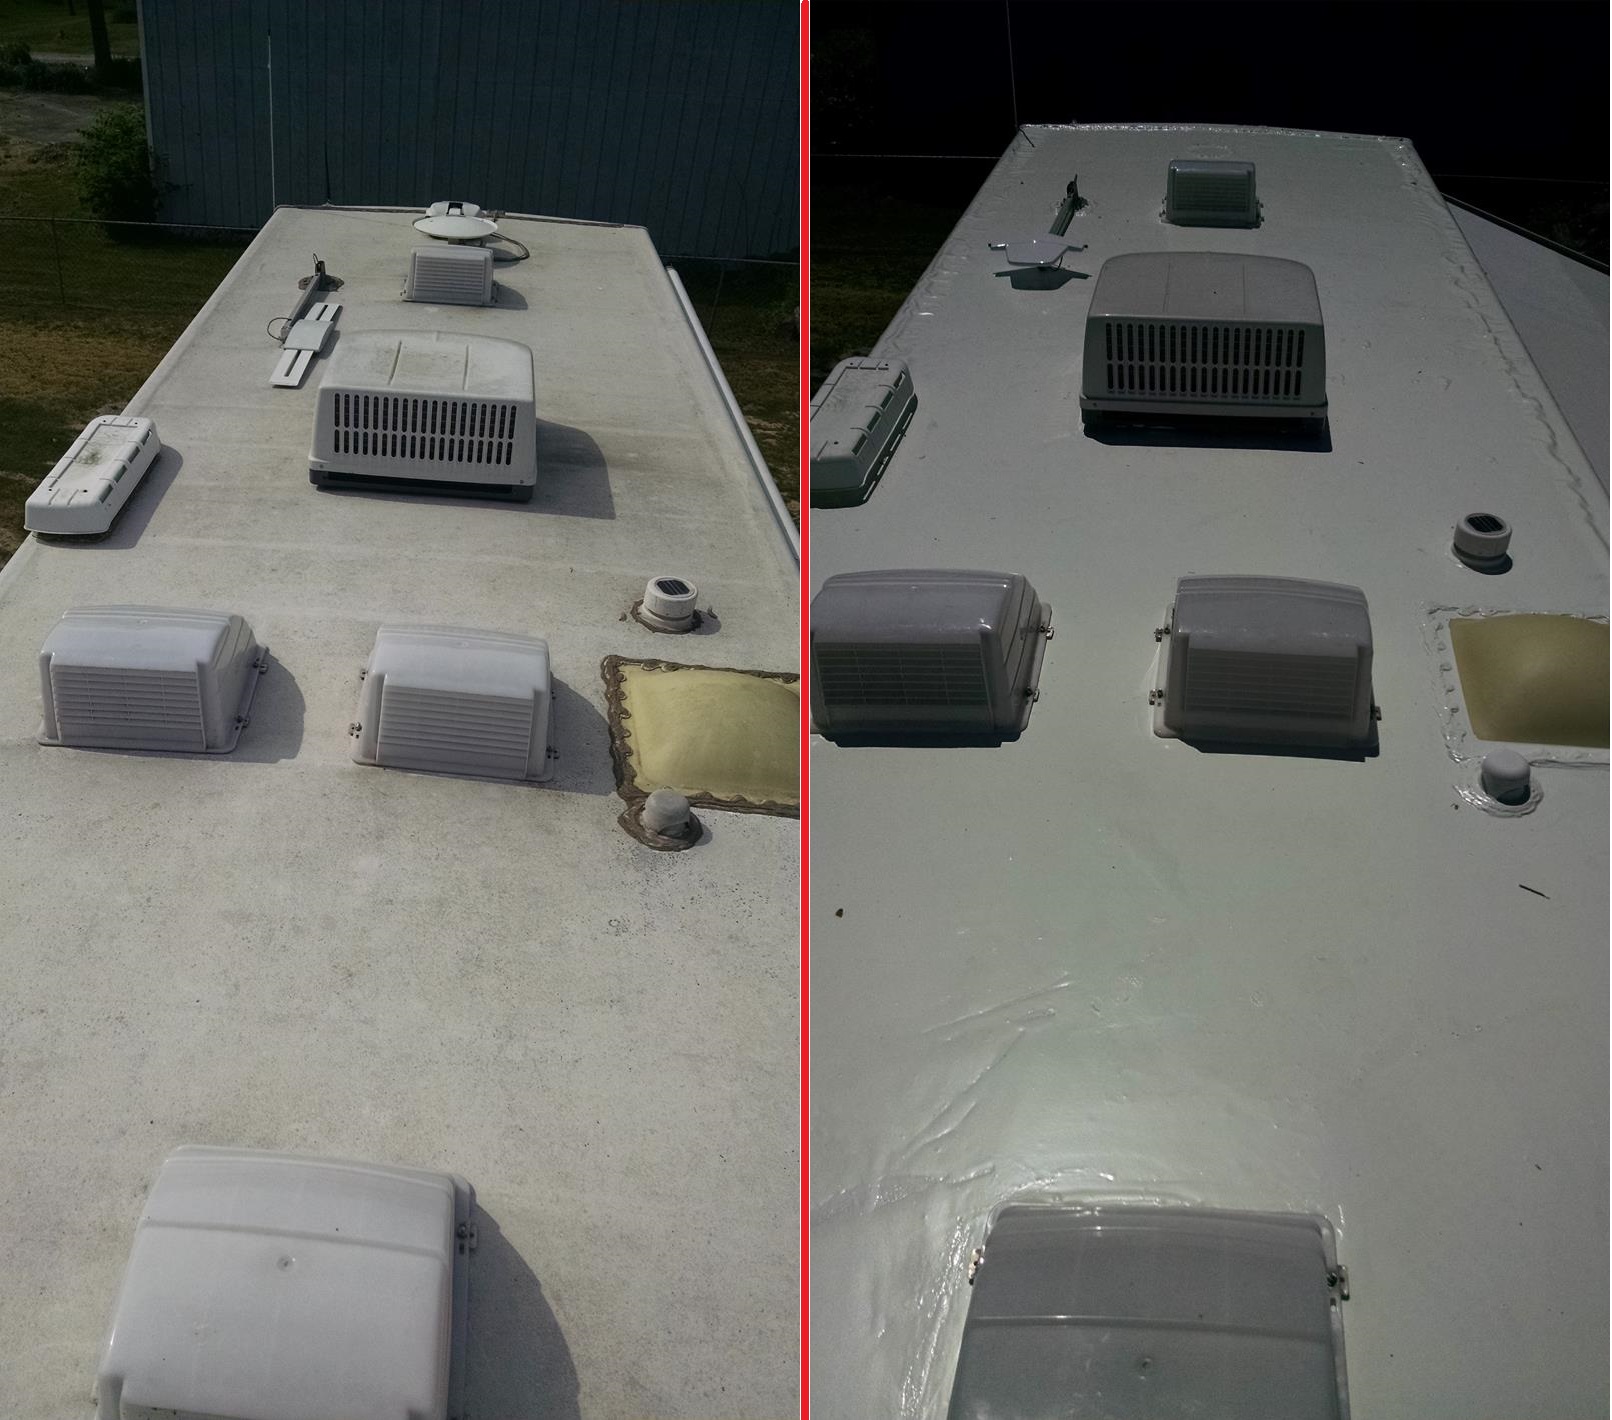
The next day the roof was hard enough to walk on. In places that the membrane was not glued to the roof, small ripples formed.. From the videos I seen, others have noticed these, but also noted that over a couple weeks, these would settle back down and go away. They did. I inspected the roof after about a month and the ripples were gone.
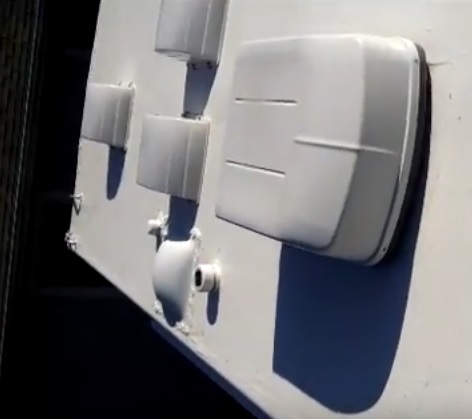
I’m very happy with the finished product. and would recommend it for any DIYer. The cost and time saving over a new roof are substantial.
We had originally ordered 6 gallons, a five gallon pail and a one gallon can. We were able to return the one gallon can unused and unopened.
If your interested, here is a short video I put together that shows the prep and finish.
ADDENDUM
In June, we took a trip out to Pheonix, AZ. Outside air temperatures climbed to 115 during the day.
Our single roof mounted A/C (13.5k BTU) unit was able to keep the inside of the Mirada at a nice comfy 75 degrees all day. Having a nice white clean roof contributed to this..
Thanks so much for this–I’ve been looking to reseal my roof as well but didn’t know how to do it. Tell me, you said the roof needed to be cleaned but wasn’t sure how you did that. Do you need a pressure washer? Or can you just use Awesome and a brush? –Thanks again.
Nancy;
I used a pressure washer, but good ole brush and detergent will work.
The goal is to remove any loose stuff and dirt to allow the EPDM coating a good surface to bond to.
If you use pressure, be careful you don’t do damage.
Great information. The rubber membrane that folds over the edge to the side walls. Did you just use a brush to apply coating to that rubber?