 UPDATE (May 2016) I rewired the camera and did away with the wireless portion.
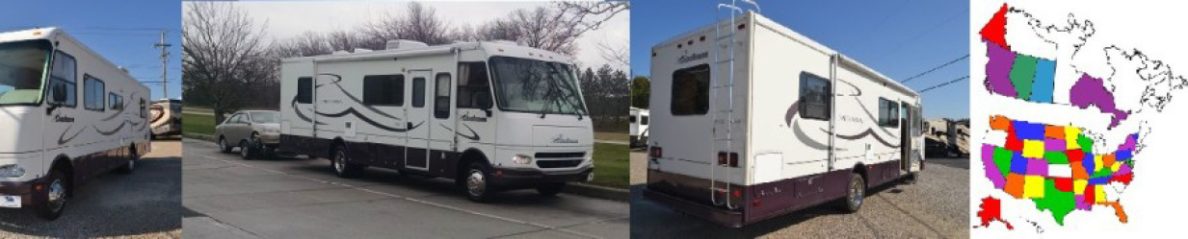
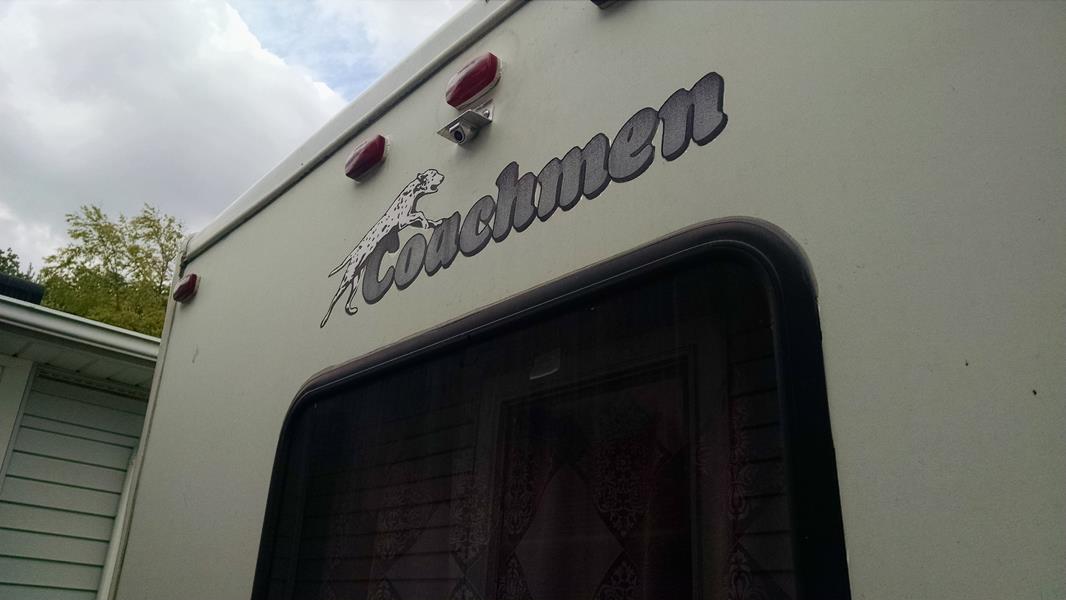
I installed a rear view camera on the Coachman Mirada. Its more for keeping an eye on the TOAD rather than backing up or checking behind me.
I bought one of those inexpensive backup cameras on e-bay. The only issue is, this camera is meant to be mounted under a cars license plate bracket. I was hoping I could mount it directly to the back of the Mirada, but the picture was upside down. I took the camera apart hoping I could flip the camara inside the housing, but no luck.
SO – To mount it on the Mirada, I made a small 90 degree bracket out of a small piece of angle iron. I drilled holes to mount the camera to the bottom of the bracket, and after a quick test, it looks like this will work OK mounted up high under the top clearance light.
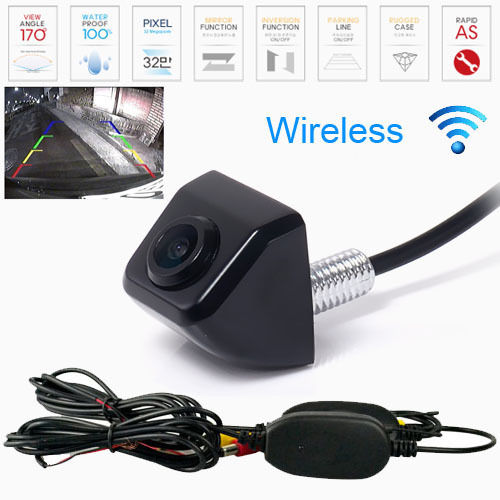
1) This is the camera and wireless transmitter/receiver I bought, About $20 on e-bay.
2) To get power to the camera, I took the top clearance light off and drilled a hole so it went inside the Mirada.
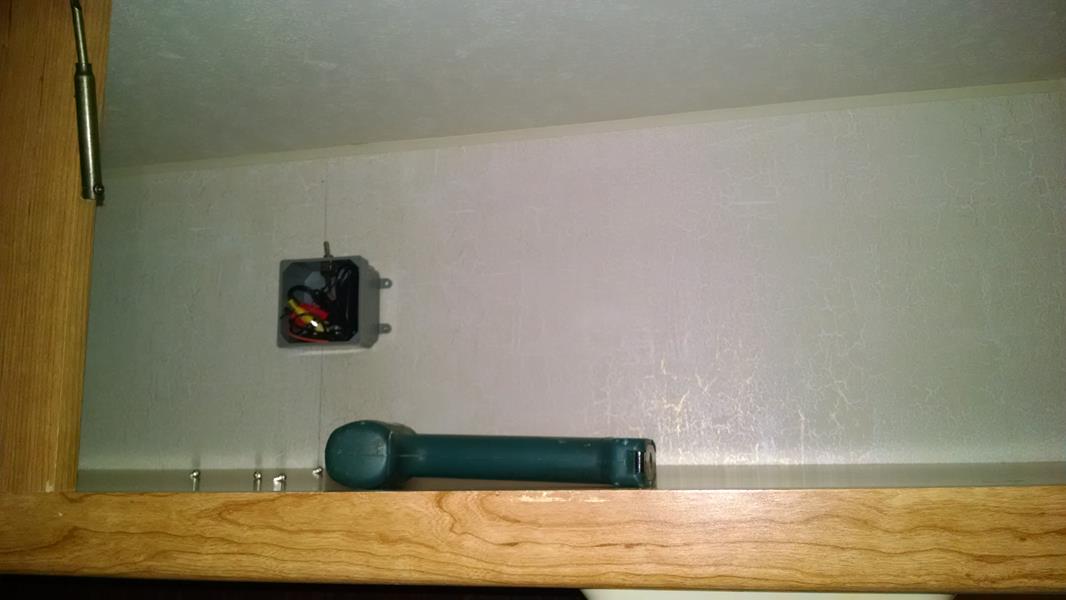
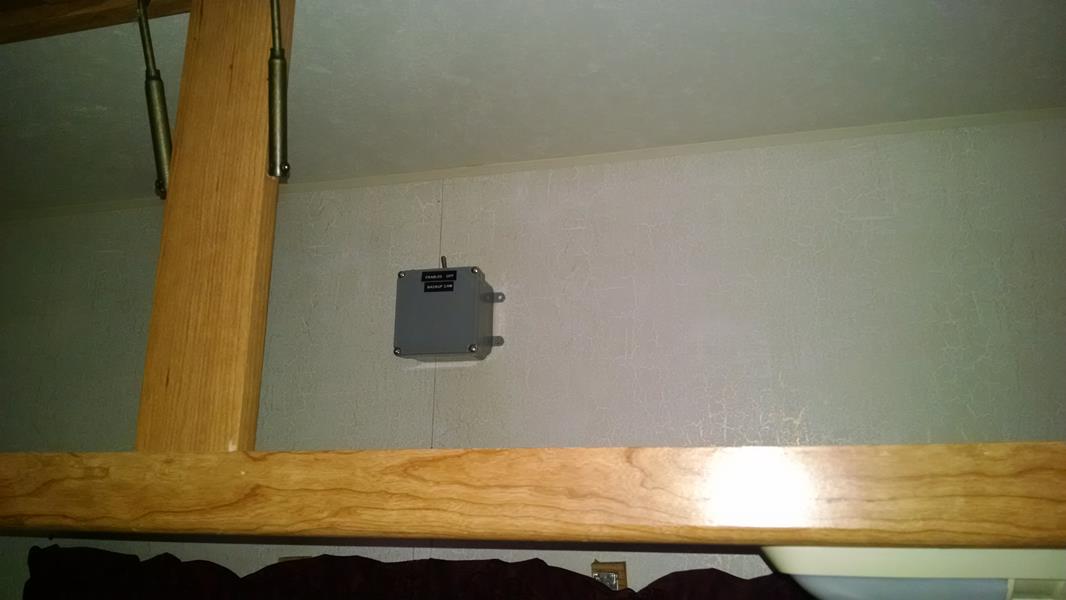
3) I mounted a 4 inch plastic electric box inside the rear cabinet,, this is where all the wires and the transmitter will get spliced.
4) I drilled 3 holes about 2 inches below the clearance light that go all the way through to the inside and through the splice box. These are for the two bolts that hold the mounting bracket in place and to run the camera wires to the inside.
5) I mounted the camera on the angle bracket I made and installed the bracket on the back of the Mirada. I ran the camera wires inside to the splice box and sealed everything with silicon RTV.
6) I ran the power wires (from the clearance light) through a switch I mounted on top of the splice box. Power to the camera and the transmitter is applied whenever the running lights are turned on. I installed the switch so I can turn the camera and transmitter off if I want to.
7) I spliced the camera and transmitter power wires together in the splice box.
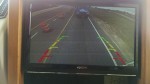
8) On the other end, I wired the receiver so its on anytime the truck is running. The receivers “video” out put goes to the TV and I also have a small monitor that is used exclusively for the camera.
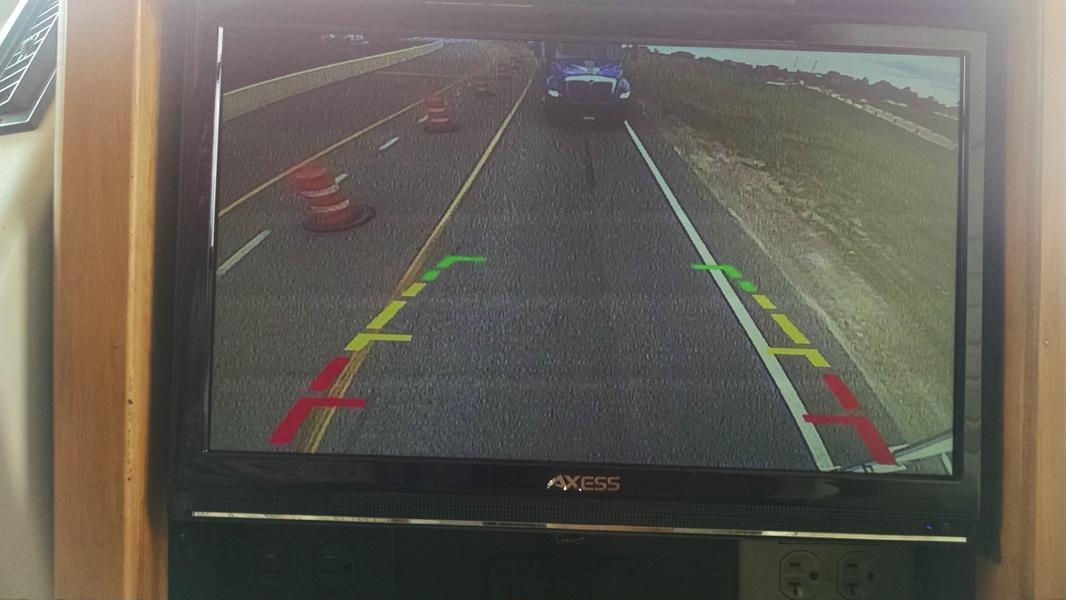
A quick road test and everything looks like its working perfectly.
I bought one of those cheap 4 1/2 inch LCD monitors so I don’t have to use the TV as a monitor (although I can. I used a “Y” adapter so the video runs to both the TV and the small monitor)
I haven’t figured out where to mount the small monitor yet. I’ll know better next week as we’ll be using it on a road trip.
Good job thanks for all the advice, Happy Trails to U & Yours. As for me I will be traveling with a 4 legged family member that is a chiwowzer. You figure it out. LOL
Hi-
Great collection of thoughts and changes to your rig! I am curious why you went to a wired set up for your back-up camera?
Tom, The wireless was OK but occasionally would cut out. The biggest reason was that the camera wireless transmitter interfered with the TPMS system I installed on my Toad and Dolly.
With the camera on, the TPMS could see the dolly tires, but not the rear wheels on the TOAD. When I turned the camera off, BAM, all the sudden the sensors in the rear wheels showed up on the TPMS monitor
I’m working on a short article about the TPMS system