

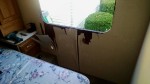
 When we bought our Mirada last fall, one of the reasons we got such a great deal was because the unit had been sitting on the dealers lot for 6 months. Odds are good when potential buyers seen the water damage under the Emergency Exit window, they got cold feet and moved on.
When we looked to purchase the Mirada I seen the damage and spent a great deal of time looking at it and tried to figure out just how serious it was. My conclusion was that it was cosmetic and looked a lot worst than what it really was. The damage had been there a long time and was not getting any worst.
WHAT CAUSED THE DAMAGE

The emergency window and frame that swings open has a rubber seal between the swinging frame and the main stationary frame. That seal was compressed and flat and not sealing very good.
The bottom of the swinging frame forms a trough. Any water that gets by the window seal or the frame seal will flow to the bottom of the frame and collect in this trough. There are two thin rectangular drain holes in the bottom of the frame that allow this water to drain to the outside.
If these drain holes are plugged, the trough can fill with water. There is a seam at the center bottom of the frame. If the water gets high enough, it will flow past that seam and flow to the inside of the frame and down the wall.
The rubber seal was deformed and was not sealing, allowing a lot of air to pass through the window. I suspect the original owner used Silicon sealant to seal the air leak, but unknowingly plugged up the two drain holes in the bottom of the frame, thus the water damage to the inside wall.
The dealer removed the sealant from around the window to restore its ability to swing out in an emergency, but didn’t do anything to unplug the two drain holes.
REPAIR THE DAMAGE
I removed the Emergency Window and frame and cleaned up all old sealant. It appeared like the window frame had a good seal to the exterior wall and I was surprised to see they used a polyurethane seal rather than the butyl seal. The seal was still very sticky and flexible.
When cleaning up the swing frame, I had to remove (it fell off) a lot of old self adhesive door seal foam stuff. Again this was probably done to seal the swing frame against the stationary frame.
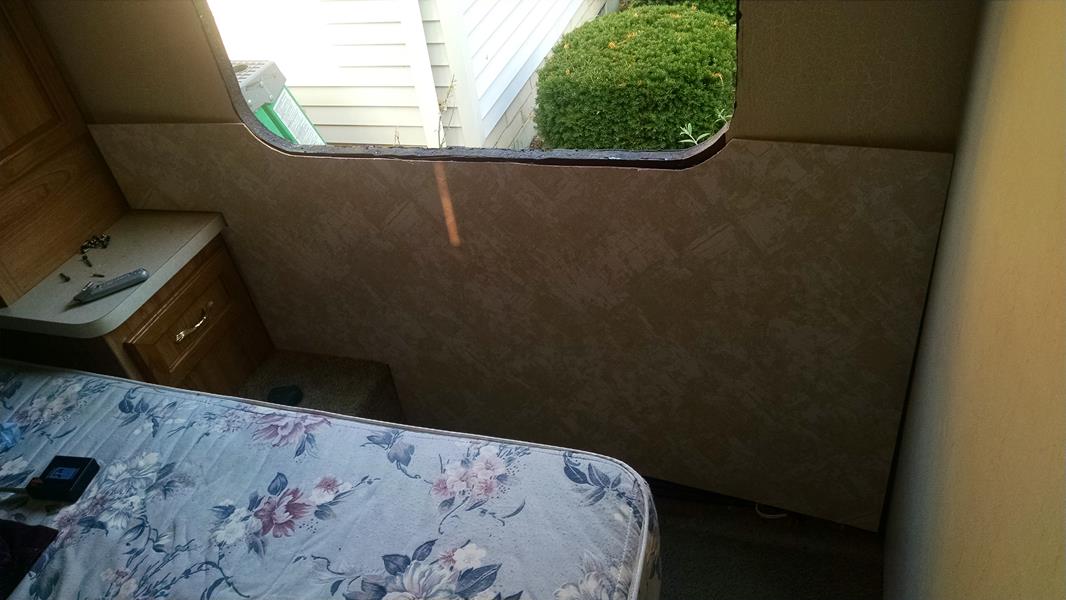
The actual damage to the wall was mainly the plywood had de-laminated and curled. It looked bad, but once I started removing the damaged layers, the damage was only confined to a small area that had been damp and the plywood simply cane apart.

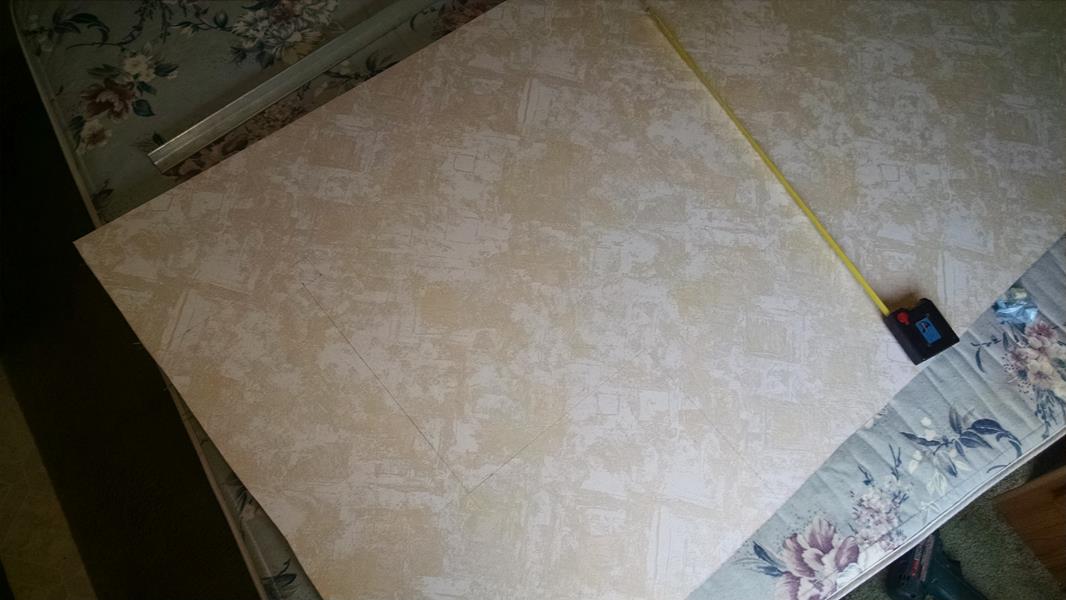
I bought a 4×8 sheet of 1/8 inch wall paneling and edge trim from a big box store.
GLUING AND SEALING
When I removed the window, It was held in and sealed with a very sticky urethane??? tape material (not the standard butyl tape) . A visit to the Auto body shop and they sold me a tube of 3M Windo-Weld 08609. This is the stuff that’s used to glue in car windows and windshields. Very sticky and seal good.
NOTICE – This stuff is very thick. It took both hands on a caulking gun to squeeze it out. Make sure you have a good gun if you use this stuff. If I was doing this again, I might consider using the “ribbon” or tubular stuff instead of the caulking version. I used the tubular ribbon version of this stuff many years ago when I re-sealed the back window in an F-150 pickup)
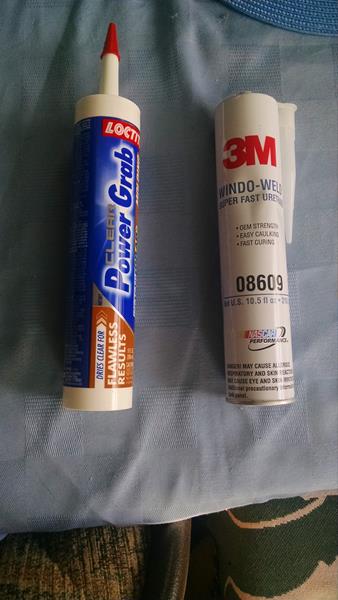
For the paneling, I bought fast acting “PowerGrab” at the local HomeDepot.
To prepare the window, I cleaned the exterior of the Mirada with lacquer thinner. The surface is clean and no old sealant is on the area that is to be sealed. Same for the frame itself. Make sure the frame is clean where the sealant is to be applied. The old seal actually came off reasonably easy (took about 30 minutes) I then whipped the frame with lacquer thinner so the contact area would be nice and clean.
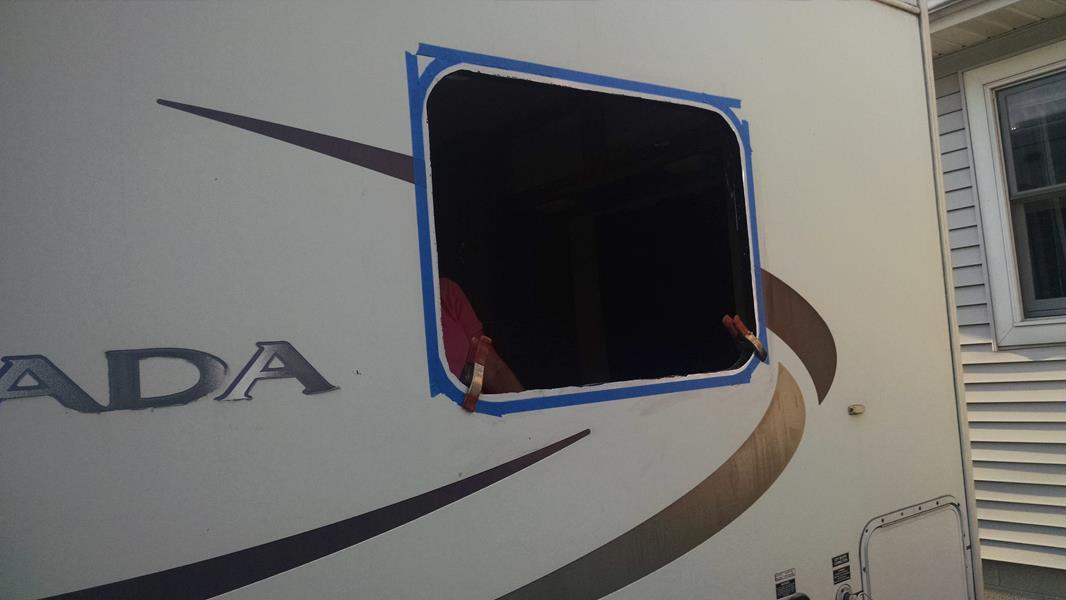
Apply blue tape around the opening, use the discoloration as a guide to where the window will stick to the exterior. The blue tape will keep the overflow that’s squeezed out from getting all over the exterior.
The window is now prepped and ready to re-install, but we need to install the paneling first.
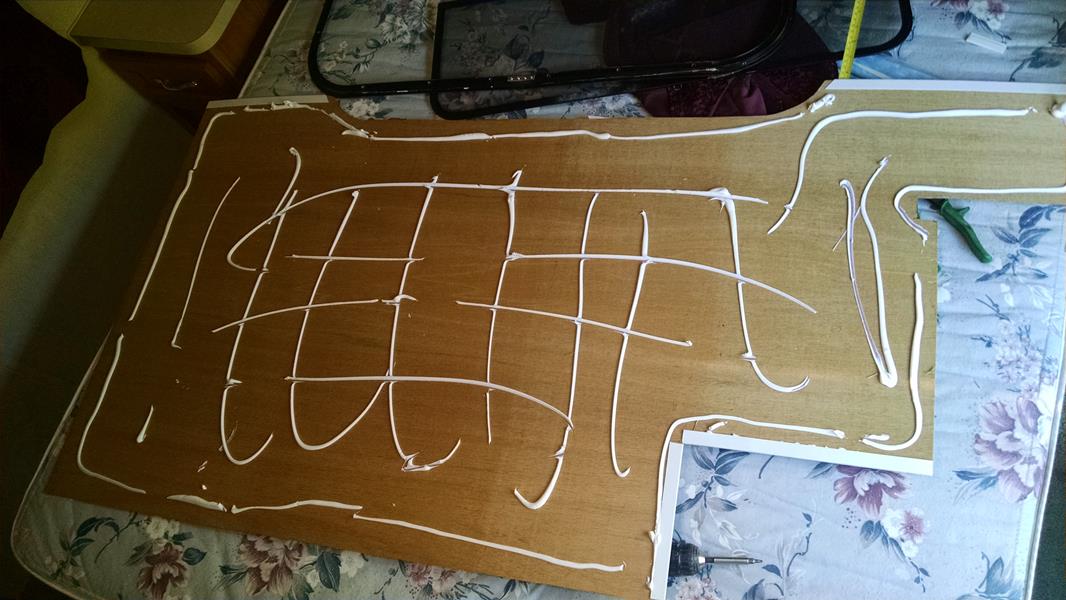
Do one finale test fit before applying the glue. I put a small amount of glue on the old wall, particularly near all the edges. I then applied the glue to the panel, and placed it in position. We used a couple clips to hold it in place while we pressed the paneling against the old wall. The glue gets sticky and starts to hold after a few minutes so work fast, and keep pressing around on the panel.
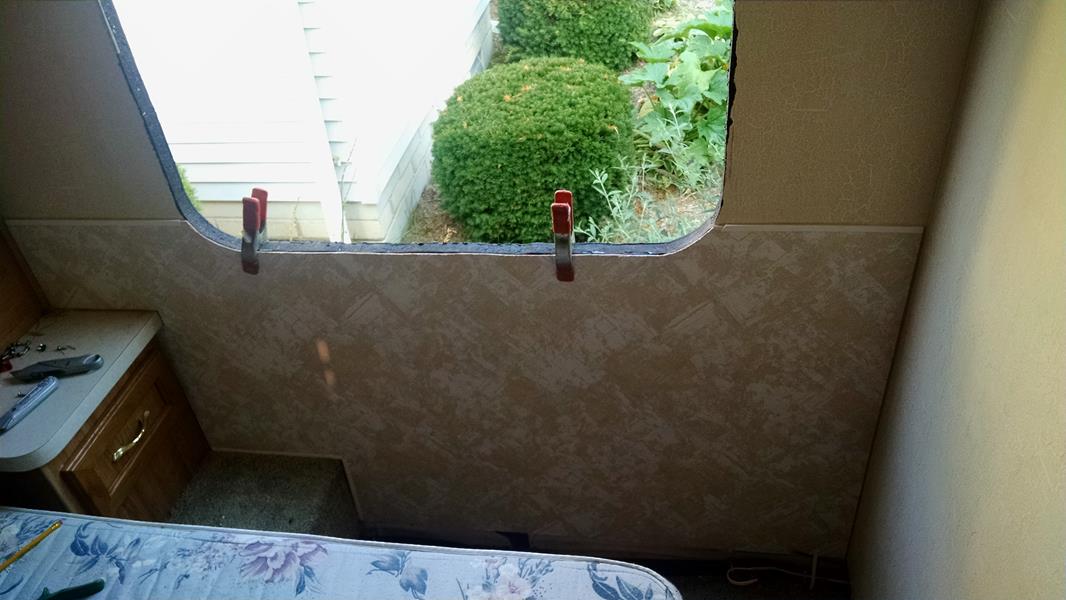
Once the paneling has set, its now time for the window.
Once you start caulking with the 3M, you have about 20 minutes to finish. As I mentioned before, the 3M caulk is thick and takes a lot of force to use the caulk gun.
Run a bead of 3M around the Mirada window opening. Then run a bead around the window frame. Stay close to the edge, you’ll notice there is a little trough in the aluminum, window frame, fill that little trough with adhesive sealant and you’ll be good.
When finished, pick the window up and press it into the opening. Wiggle it around a little to squish the sealer. Have a helper hold the window in place by pressing lightly on the outside of the window. Don’t press hard or you’ll break the window. With the help holding the window in the opening, go inside and install the window frame retainer ring.
On the inside of the Mirada, I started most of the retaining ring screws a little bit, just enough to hold the ring to the frame. Then I went around and starting near the top, slowly tighten the screws to pull the window in against the wall and the ring.
After the retainer ring was tight, I went back outside and used a small piece of wood to squeegee the windows edge where its near the blue tape, i.e. squeezing the excess sealant onto the blue tape. After the sealant hardened, just pull the blue tape off and the excess sealant is stuck to it.
On the top of the new panel, I used the plastic panel trim. Cut these to length and slide them on the paneling before gluing the paneling to the wall.
For the other edges and the corners, I ran a bead of white silicon sealant. looks very nice and hard to tell the difference between the round factory plastic bead and the silicon bead.
REPLACE THE EMERGENCY WINDOW POP OUT SEAL
This entire episode was probably the result of the pop out window seal that wasn’t sealing. The old original rubber seal was still intact and glued to the window, But it was still in good condition but had lost its original springiness so it couldn’t seal ( I could see light between the window and the frame)
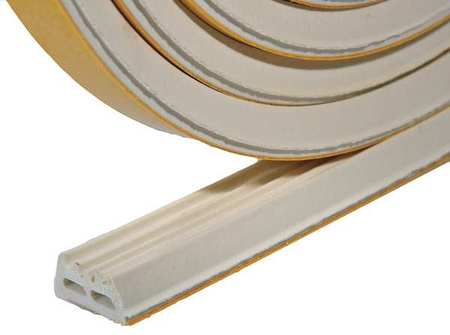
I bought a 10 ft roll of this stuff (FrostKing, 9/16 wide x 5/16 high) from the Home Depot and RV part center.
I left the original seal on the window, and installed this stuff on the frame. Now when the window is closed and clamped shut, the original rubber presses against this stuff to form a good seal.
WARNING – Make sure the two drain holes on the bottom of the frame are clear and the new seal doesn’t block them.
ALL DONE
The new panel looks good and unless I point it out to someone, they would probably think it was factory original.

Excellent site. Even though my MH is not a Mirada I still learn a lot from your articles.