
 One of the easiest and least expensive ways to make the coach battery last longer is to reduce the electrical loads placed on the battery. Every ceiling light bulb in the Mirada uses 1.4 amps when its turned on. The double fixtures (two bulbs) draw almost 3 amps when they’re turned on.
By converting to LEDs, that 3 amps can be reduced to 1/2 amp, with the same brightness, AND, a light fixture that will last forever.
Over the winter, I ordered all the LEDs and was waiting for warmer weather to get out there and install them in the Mirada.
The main reasons for doing this upgrade are;
1) Significantly reduce battery consumption.
2) Increase longevity of coach lights.
3) Eliminating troublesome bulb sockets
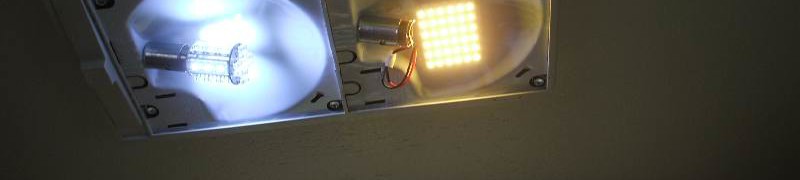
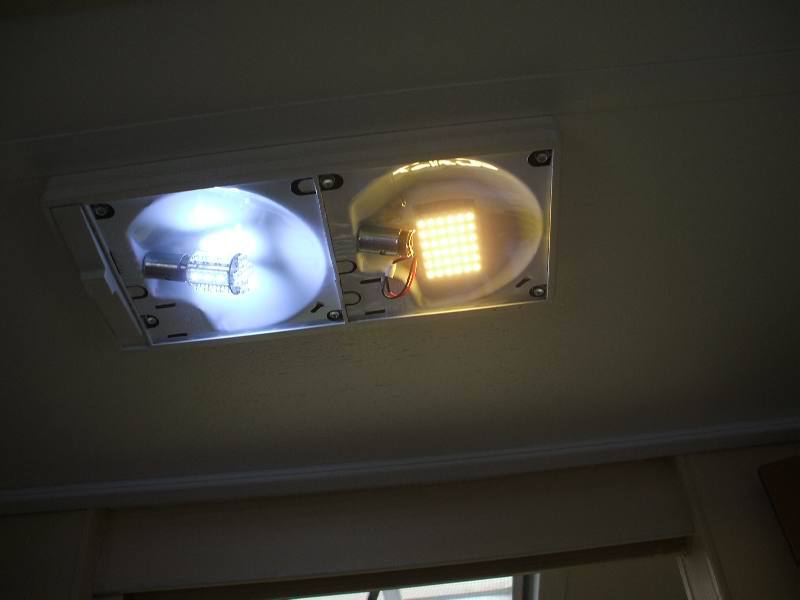 Photo 1 – White vs Warm White. Warm white is almost identical to a incandescent bulb and is what I prefer.
The biggest factor for me was the significant reduction in power requirements.
A conventional light bulb (1141) draws 1.3 amps. The LEDs I’ve chosen draw 0.25 amps, or about 1/5 the power compared to the bulb.
When comparing the lights output in color and brightness, they both appear to be identical.
Rather than replace the incandescent bulb with a LED bulb, I chose to permanently install the LEDs.
LED SELECTION
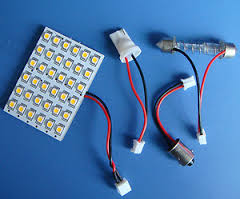 Photo 2 – Warm White LED panel available on e-bay
These LEDs are available from e-bay sellers, each panel fixture costs about $2.60 when bought in quantities of 10. UPDATE – I’m seeing these panels for $1.50 today, Sep, 2016)
I specified “Warm White” as the light color because I wanted the LED light to be as close as possible to an incandescent bulb. In the above photos, you can see how the LED panel compares to a standard bulb as far as brightness and color. In the other photo you can see the difference between a “white” and a “warm white” color.
You can search e-bay for these items:
12V Dome Bulb 36-1210SMD LED,Warm White
PURCHASE CAUTION – There have been reports of poor quality LED panels coming from Chinese vender. make sure the vender has a warranty, ask before you buy, how will they handle bad components.
INSTALLATION
I removed all the fixtures from the ceiling and cabinets.
When I upgraded my previous motorhome, I re-used the old white reflectors by breaking off the bulb sockets. On this retrofit, I chose to remove the bulb reflectors and glued the LED panels directly to the ceiling.
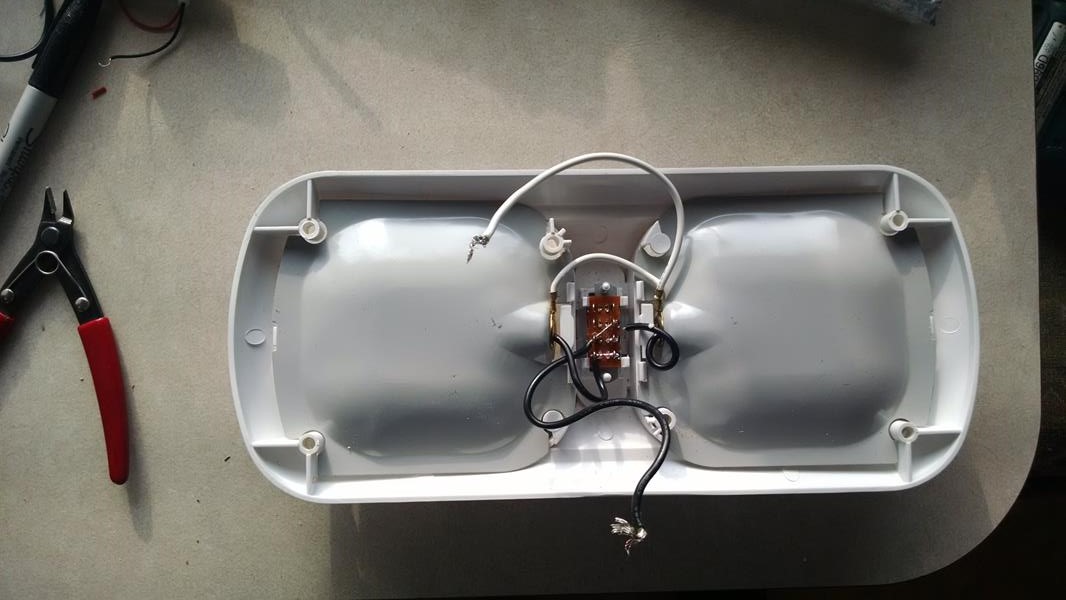 Photo 3 – Remove Ceiling fixture
 Photo 4 – Remove metal reflector, cut wires from switch
NOTE – The LEDs come with a double sticky pad on the back. Its been my experience that these pads won’t hold the panel, so I remove the sticky pad. I then use a piece of course sand paper to carefully scratch the back surface to give the glue a good surface to adhere to.
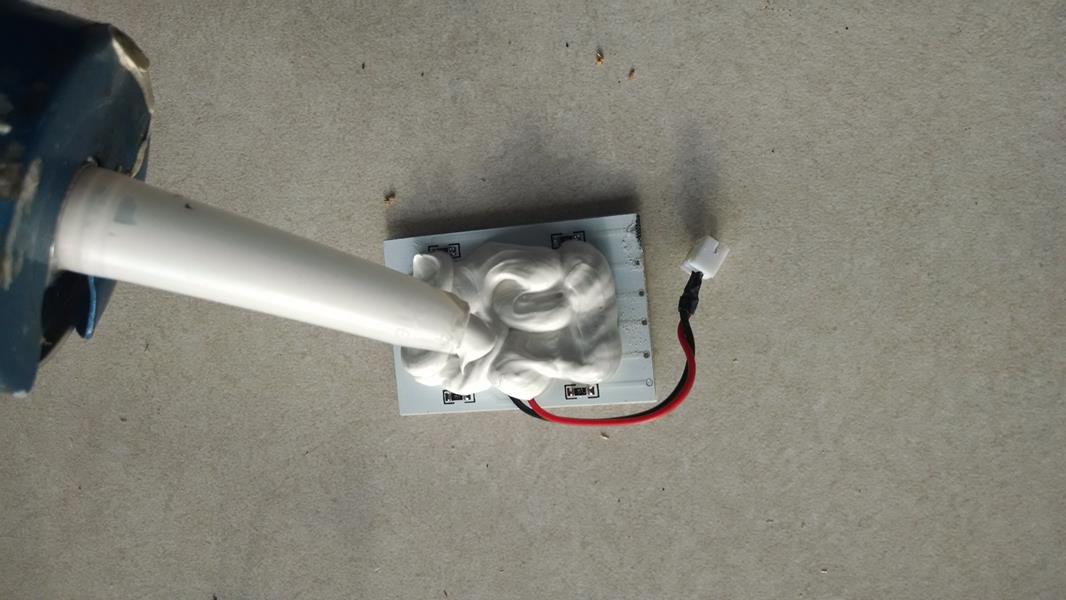 Photo 5 – Using Silicon adhesive – glue LED to ceiling, center in lens opening.
I then put a glob of silicon adhesive / sealant on the back of the LED panel and stick the panel to the ceiling.
Note the little plugs on the LED panels points toward where the fixtures switch is located. Give the glue about 24 hours to dry.
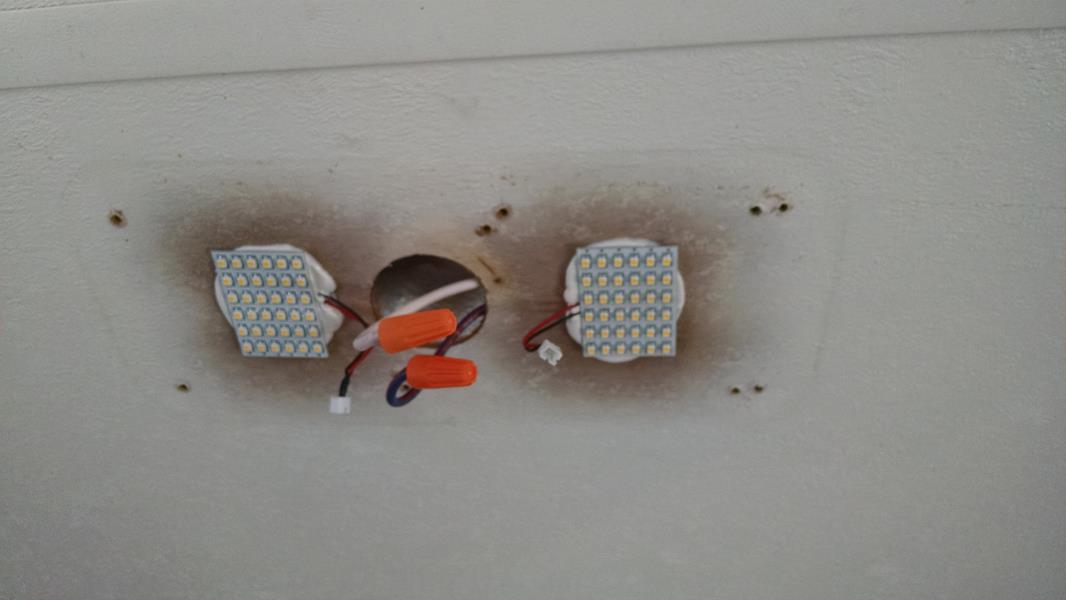 Photo 6 – LEDs centered where the lenses will be
While the adhesive is curing, I soldered the mating connectors to the switch. I had to add a white wire for the ground and used a wire tie to secure it to the black wire.
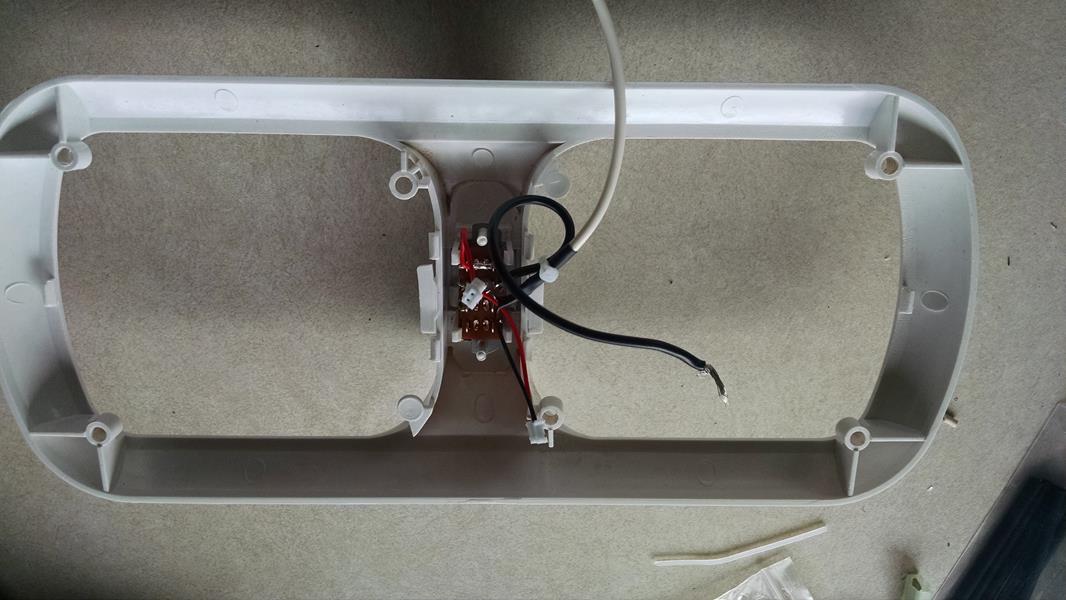 Photo 7 – LED Connector soldered to switch
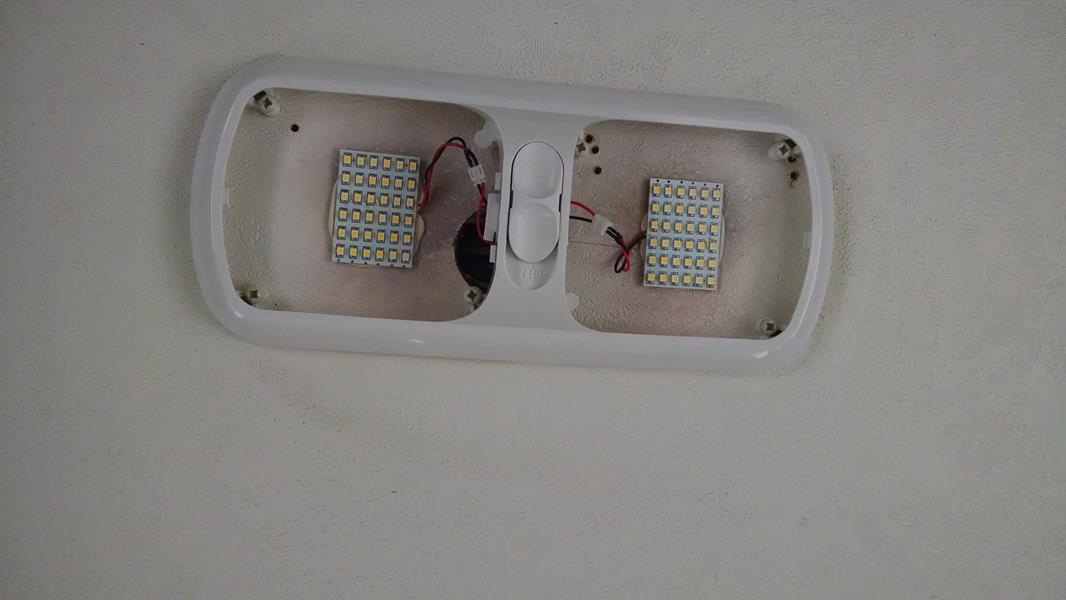 Photo 8 – Wired up and complete. Lens cover removed so you can see the LEDs
Screw the fixture back on the ceiling, plug in the LED panels, a quick test, then reinstall the lens covers.
CLICK HERE to read the entire thread on the Coachman and Mirada Spoken Here forum.