
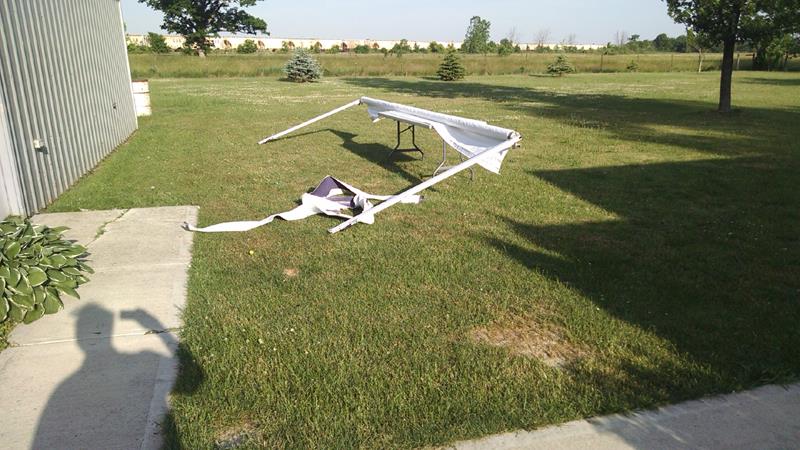
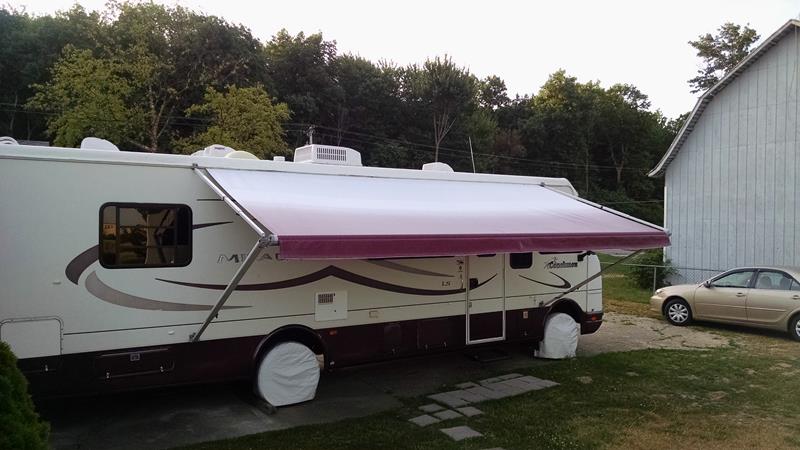
 Although the awning was in good shape, at the very top that’s always exposed to the sun, the fabric was brittle and cracked and could rip very easily. It was time for a new awning.
Getting the correct size – All the awning fabric sites I visited on the web pointed out how to measure the old awning and warned NOT to measure the fabric, but to measure the distance between the awning vertical support rods. On mine, the distance of the vertical supports was exactly 18 ft.
I searched the web and chose Sun Wave as the replacement awning provider. Their price was very reasonable and they had my awning in stock.
Replacing the fabric – I watched several different videos on how to do it, and got good tips from all the videos I watched.
From the videos, there seemed to be two slightly different procedures;
One procedure had you remove both spring loaded end caps. The other had you remove the ratchet side end cap and use a screwdriver to block the other end cap from unwinding.
I chose the one end cap method that is shown in this video:
Here are a couple key items that I picked up from my installation and the different videos.
PUSHING IN THE SECOND BEAD
My old awning had two beads sewn into the awning that slid into two grooves in the tube. The new awning only had one bead sewn in, and the other bead you pushed in. An instruction sheet was included with the awning to show how to do this. I’ll add a couple pointers that may help you if you use this awning:
The second bead is actually two separate beads. I believe they meant for the beads to be pushed in from opposite sides of the tube. However, I only removed one side cap, so I had to push both beads in from one side. Not a problem, here’s a couple ideas to make this easier.
I used a 3 inch plastic sheet rock spatula to push the fabric into the tube groove. Don’t use metal as you could cut the fabric.
With the fabric in the groove, spray a shot of silicon into the fabric that’s now in the groove.
The hardest part of inserting the bead into the fabric groove is getting it past the folded/sewn edge of the fabric. The edges of the bead try and catch on the sewn threads. To prevent this from happening, before trying to push the bead into the fabric, use a razor knife and carefully sharpen one end of the bead to a point. (try a pencil sharpener first if you have one) . The bead will now slide past the threads without catching on them.
Once the bead is all the way in, I sprayed the entire bead again with silicon, then used my plastic spatula to push the bead all the way down to the other end cap.
Slide the second bead in behind the first bead exactly the same way, sharpen the edge and slide it in.
INSTALLATION OBSERVATIONS
- Having three people is almost a must. You won’t need them all the time, just for a few minutes during key installation procedures.
- IMPORTANT – When you drill out the rivets from the end cap, the old rivet parts will fall inside the tube. Make sure to remove the old rivet parts from the tube as they could wiggle around and get into the ratchet assembly and jam it. I didn’t see this mentioned in any of the videos.
- Before putting the ratchet end cap back on, put a little grease on the ratchet.
- Clean all the groves, spay a shot of silicon lube in the groves.
- On the motor home, bend the ends of the edges out a little bit, maybe even file the sharp corner a little.
- Before attempting to put the awing on the motor home, put a small piece of electrical tape on the two end edges to reduce the risk of cutting the fabric.