
 It was -17 degrees outside with the wind blowing 30-40 mph. We were boondocking in a parking lot because the Campground we were going to stay at, we couldn’t see the roads and were afraid of driving into a ditch.
At 4am, we were wakened by a chirp from the CO alarm. It was cold in the Mirada, about 50 deg.
I checked the furnace, the blower was running slowly and there was no heat. A check of the battery and it showed 8 volts. That’s why the CO alarm was doing an occasional chirp, low voltage.
The stock furnace controller has one major design flaw; it attempts to light the furnace three times, if it fails to light three times in a row, the furnace goes into a fault mode. The blower continues to run and if unchecked, the blower continues to run until the battery is absolutely dead.
On that very cold morning, we finally got the generator started and after several attempts, got the furnace to re-lite and stay running.
Over the next few weeks, we needed to run the furnace several times. Most of the time it worked with no problem, but on occasion, I could hear the gas turn on [click], I’d hear the gas ignite [wosh], then 5 seconds later the gas would turn off. It would do this three times, then the blower would keep running. For some reason, even though the furnace had lit, the control board didn’t see the flame, so it tried again until it had three failures.
I’d turn the furnace off for 30 seconds, then turn it back on (this reset the control board. Usually after this reset, it would lite and stay lit.
I ordered a replacement Dinosaur control board from Amazon. NOTE – There are several versions that depend on your furnace, but all the boards operate the same.
Their design evidently is a little better at detecting the flame, AND, if the furnace fails to light after the third attempt, instead of running the blower and killing the battery, it shuts the blower off.
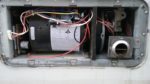
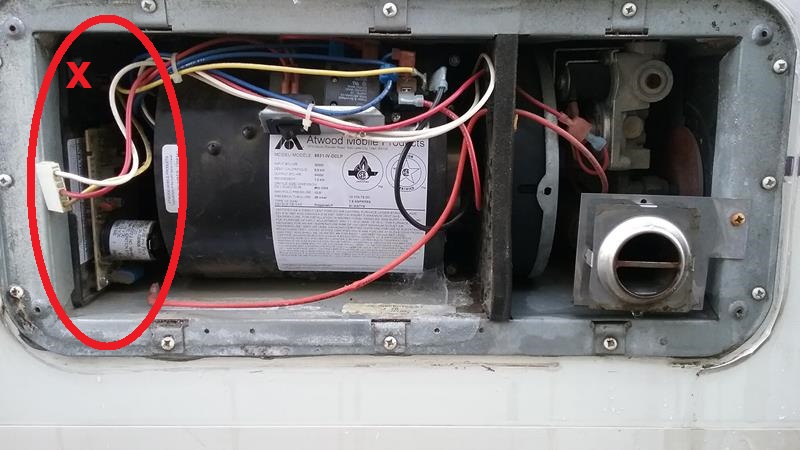
The control board is mounted on a plastic holder on the left side of the furnace. Remove the small connector from the board, unplug the spark lead, then remove the wingnut at the top (located near “X”) . The board and plastic mount will slide straight out.
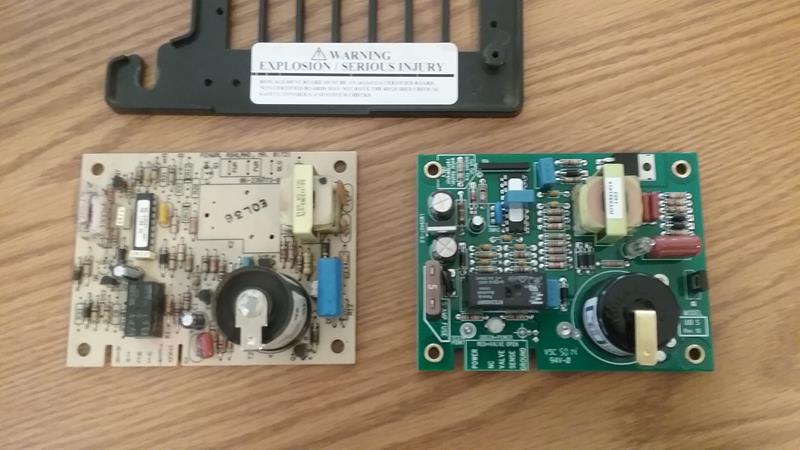
The Dinosaur board is a plug in replacement. (Original board on left, Dinosaur board on right)
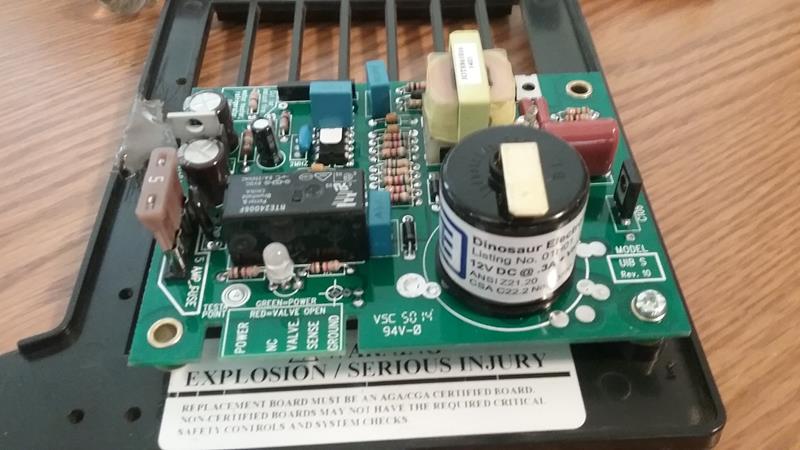
The only thing I did was I re-drilled the mounting holes and had to get longer screws to mount the board on the plastic mount. Not shown in the photo, I also added two 6×32 bolts and nuts in the two unused holes to secure the board to the plastic mount